In the digital age, Create videos have become a dominant form of content consumption. Whether you’re creating content for social media, YouTube, marketing, or personal projects, knowing how to create high-quality videos is an essential skill. This guide will walk you through the steps involved in creating videos, covering everything from pre-production to post-production, including the tools, techniques, and tips that will help you produce engaging and professional-looking videos.
1. Understanding the Purpose and Audience
Before you even think about turning on your camera or launching your video editor, it’s crucial to define the purpose and target audience of your video. Knowing who you’re creating the video for and what the goal is will help shape every decision you make during the video creation process.
Key Considerations:
- Purpose: What is the goal of the video? Is it to inform, entertain, persuade, or sell? Defining the objective helps you determine the tone, style, and content of the video.
- Audience: Who are you making this video for? What are their preferences, pain points, and interests? This will influence your choice of language, visuals, and even the length of the video.
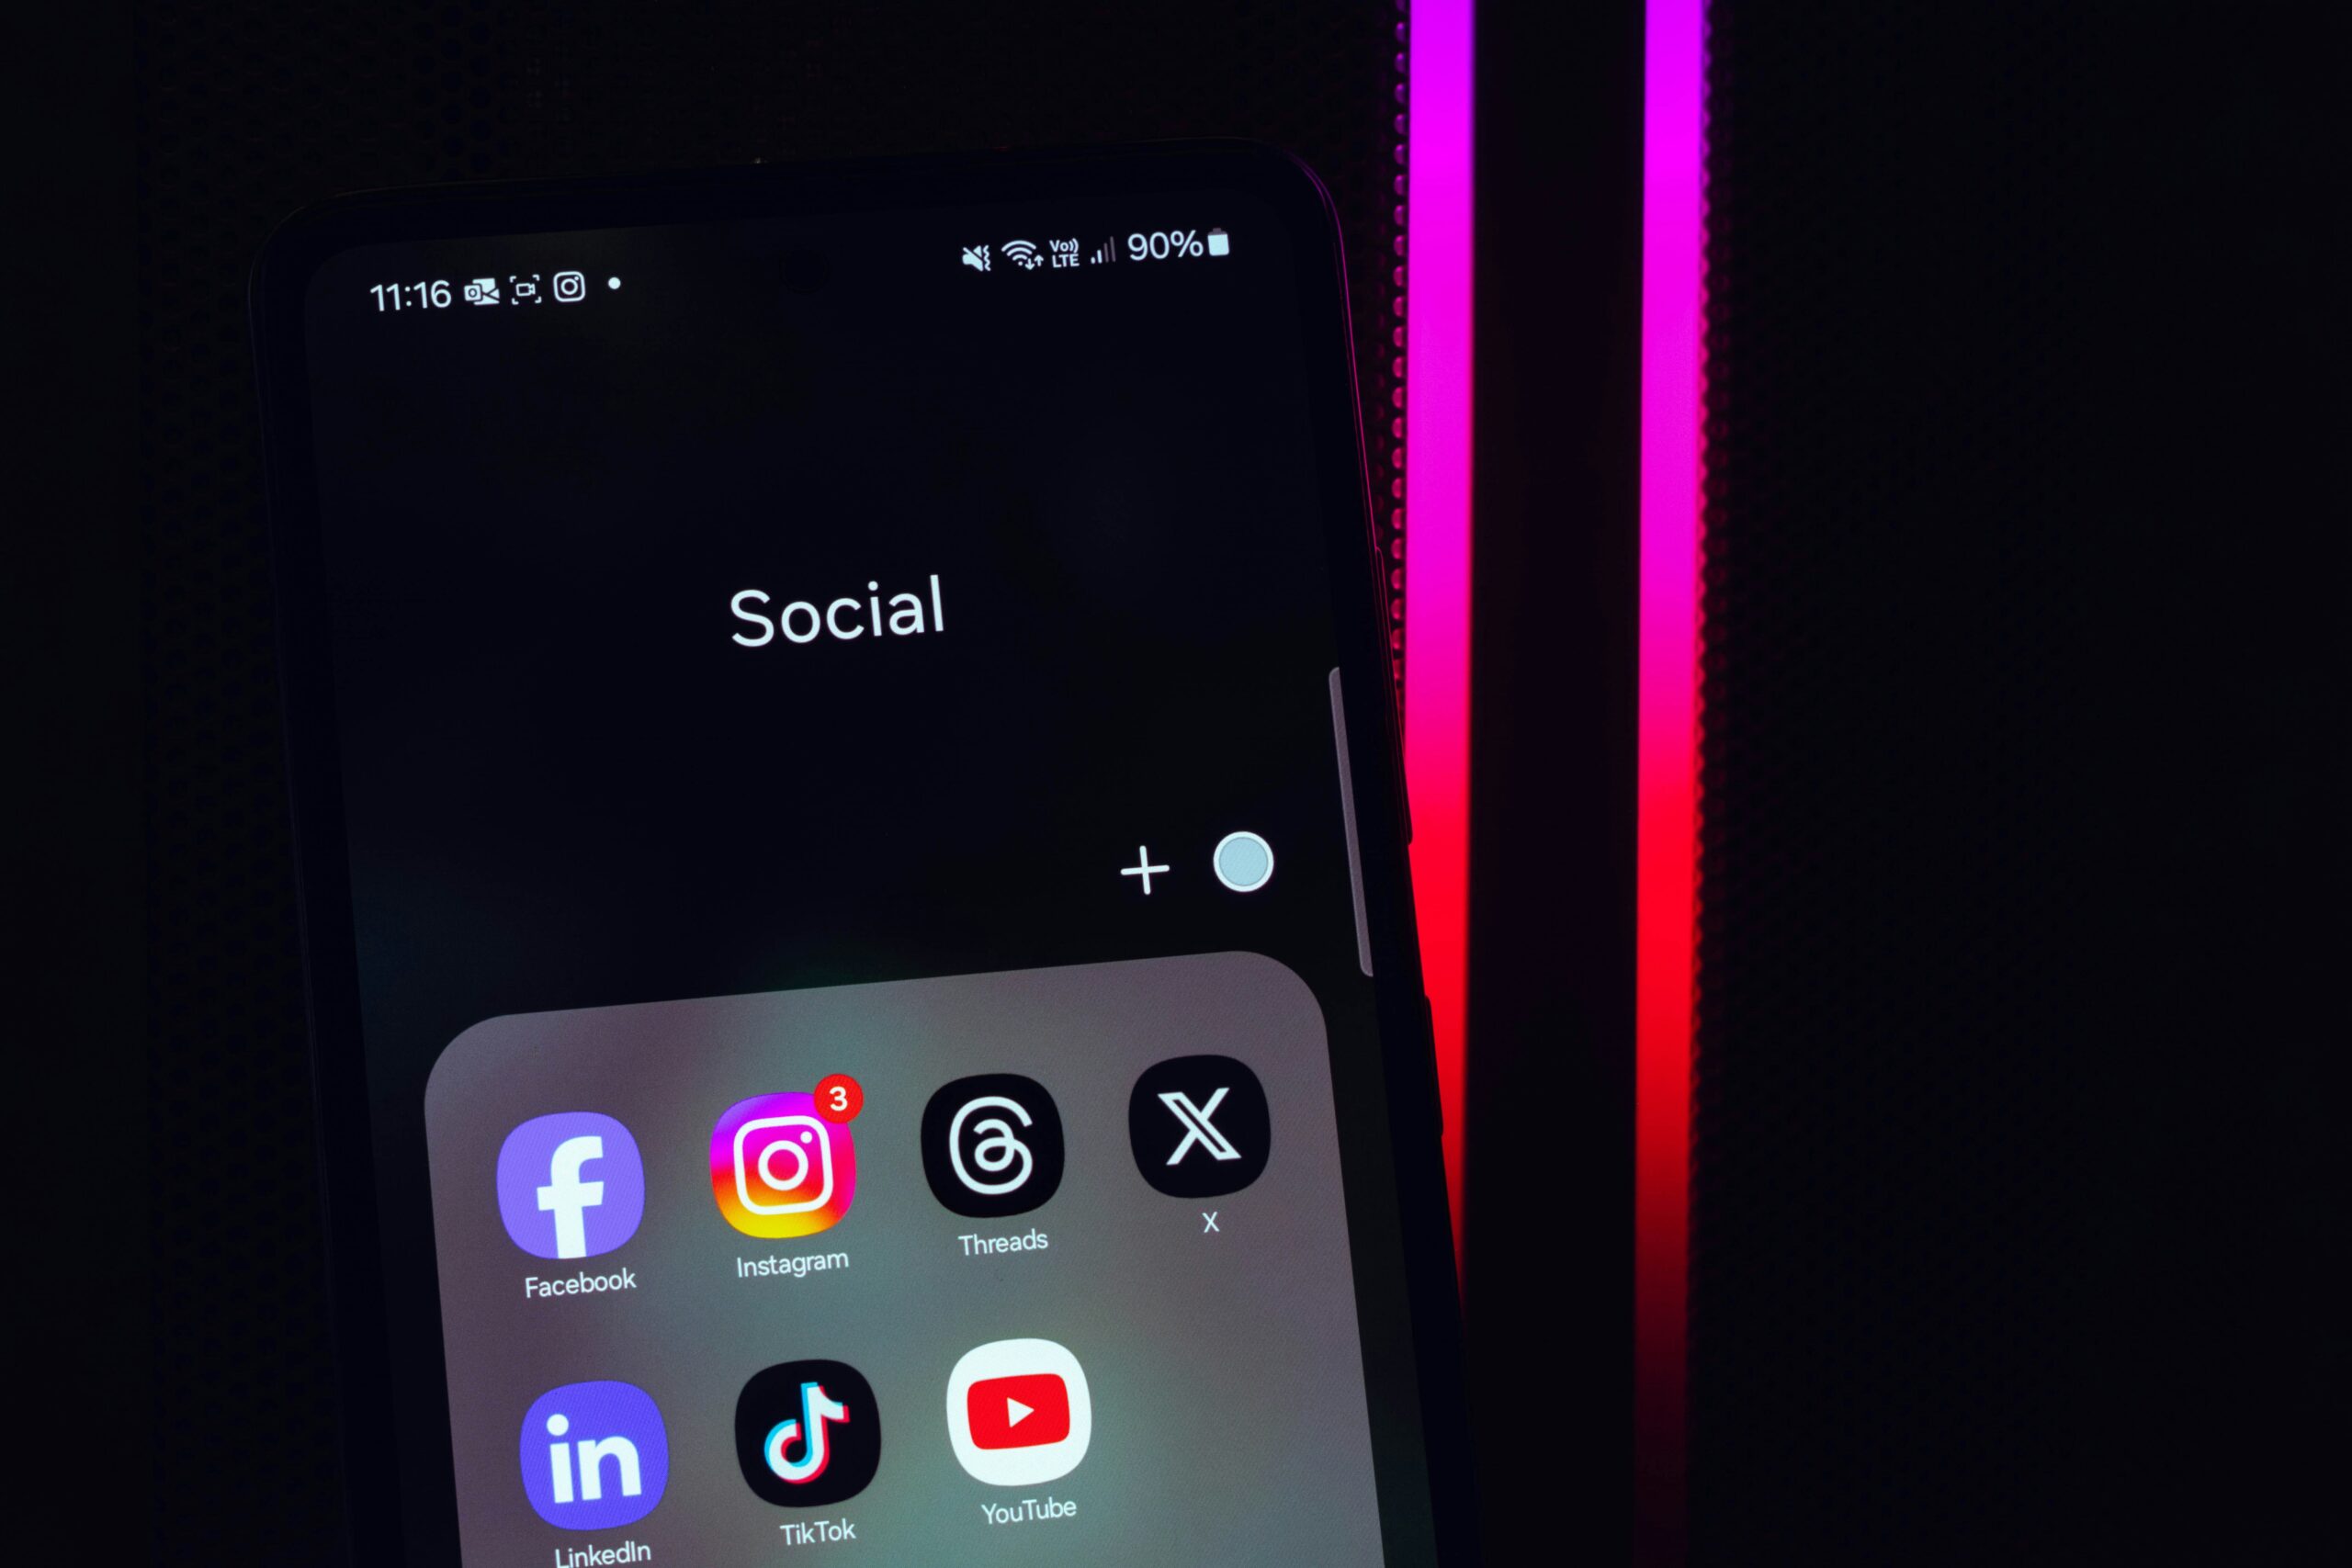
- Platform: Where will your video be published? YouTube, Instagram, TikTok, or a website all have different video specifications, aspect ratios, and audience expectations.
2. Pre-Production: Planning Your Video
The success of any video begins long before you press the record button. Pre-production is the planning phase where you establish the blueprint for your video. Here’s how to get started:
a. Scripting
Whether you’re creating a vlog, a tutorial, or a commercial, having a script is essential. Even if your video is unscripted, having an outline ensures you stay on track and communicate your message effectively.
Steps for Writing a Script:
- Introduction: Set the stage. Briefly introduce the topic and hook the viewer’s attention.
- Body: Break down the main content into sections. Be clear and concise, using engaging language that speaks to your audience.
- Conclusion: End with a call to action (CTA), whether it’s subscribing to your channel, visiting a website, or sharing the video.
b. Storyboarding
Storyboarding helps visualize the video before you start filming. It’s essentially a comic strip version of your script. You don’t need to be an artist to create one; simple sketches or descriptions of each scene will do.
Key Storyboarding Elements:
- Camera Angles: Decide whether you want wide shots, close-ups, or dynamic angles.
- Lighting: Plan where the light sources will come from, especially if you’re shooting indoors or in low-light conditions.
- Scene Transitions: Note how scenes will flow from one to another, whether it’s a cut, fade, or dissolve.
c. Gathering Equipment
For high-quality video, you don’t need the most expensive gear, but you do need the right tools. Here’s what you’ll need to get started:
- Camera: A DSLR, mirrorless camera, or even a smartphone with a good camera can work. Just ensure you have good video resolution (1080p or 4K).
- Microphone: Audio quality is just as important as video quality. Invest in a lapel mic, shotgun mic, or condenser microphone to capture clear, crisp sound.
- Lighting: Natural light is great, but if you’re indoors or shooting at night, you may need softbox lights or ring lights for optimal illumination.
- Tripod or Stabilizer: A tripod keeps your camera steady, while a stabilizer (like a gimbal) can help create smooth, dynamic shots when moving.
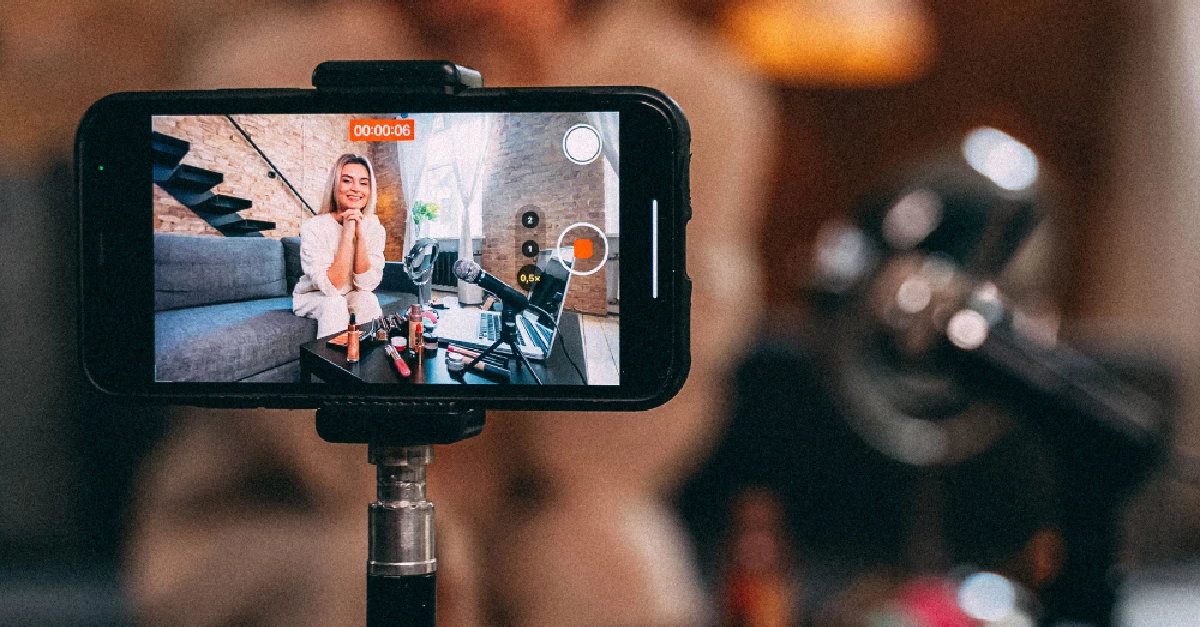
3. Production: Shooting the Video
Once you’ve planned and gathered your equipment, it’s time to start filming. The production phase is where all your hard work in pre-production comes to life.
a. Setting Up the Scene
Before filming, make sure your environment is ready. This includes:
- Lighting: Set up your lighting to eliminate shadows and ensure your subject is well-lit. Use three-point lighting for a professional look.
- Framing: Position your camera at eye level, and frame your subject using the rule of thirds to create balanced shots.
- Background: Ensure your background is clean and uncluttered. Consider using backdrops if necessary to avoid distractions.
b. Filming Tips
- Focus on Audio: Clear audio is paramount. Ensure your microphone is positioned well, and consider using an external recorder if the camera’s built-in mic doesn’t cut it.
- Shoot Multiple Takes: Don’t be afraid to do several takes. It’s easier to edit out the bad parts than to reshoot later.
- Be Mindful of B-Roll: B-Roll refers to supplementary footage that adds depth to your story. If you’re doing a tutorial, for instance, film close-ups of your hands performing actions.
- Keep It Steady: Avoid shaky camera movements unless it serves the story. Use a tripod or gimbal to stabilize your shots.
4. Post-Production: Editing Your Video
Editing is where your video really comes to life. This is where you’ll cut out unnecessary footage, enhance your visuals, and add any additional elements to make your video stand out.
a. Choosing an Editing Software
Depending on your skill level and the complexity of your video, choose an editing software that suits your needs. Here are some options:
- Beginner-Friendly: iMovie (Mac), Windows Movie Maker, and Shotcut are good for basic editing.
- Intermediate to Advanced: Adobe Premiere Pro, Final Cut Pro, and DaVinci Resolve offer more features and flexibility for seasoned editors.
b. Editing the Video
The editing process can be broken down into several key steps:
- Cutting: Start by trimming the raw footage. Cut out mistakes, awkward pauses, or any unnecessary material.
- Adding Transitions: Use smooth transitions to move between scenes. Keep them subtle to maintain flow.
- Enhancing Visuals: Adjust brightness, contrast, and saturation. You can also apply filters to give your video a specific look.
- Audio Editing: Sync your audio, adjust levels, and remove background noise. Adding background music or sound effects can make a big difference.
- Incorporating Graphics: Use text overlays, titles, and subtitles to reinforce your message or add information. Graphics like logos and lower thirds can add a professional touch.
c. Exporting the Video
Once you’re happy with your edits, it’s time to export your video. Ensure you export the video in the right resolution and format for your chosen platform. Common formats include MP4 (H.264) for web use and MOV for higher-quality video.
. Publishing and Promoting Your Video
Now that your video is ready, it’s time to share it with the world. Here’s how to make sure your video reaches the right audience:
- Upload to the Right Platform: Depending on your audience, choose platforms like YouTube, Vimeo, Facebook, or TikTok. Each platform has its own best practices for video upload size and format.
- Optimize for Search: Use relevant keywords in the title, description, and tags to ensure your video is discoverable. On YouTube, for example, optimize for search by using strong SEO tactics.
- Engage with Viewers: Once your video is live, engage with your viewers. Respond to comments, answer questions, and promote your video across your social media channels.
6. Conclusion
Creating videos might seem like a complex task, but with careful planning, the right tools, and a bit of creativity, anyone can produce high-quality content. Whether you’re filming with a professional camera or a smartphone, the key to success lies in preparation, attention to detail, and post-production editing.
By understanding the purpose of your video, planning effectively, using the right equipment, and editing carefully, you’ll be able to create videos that captivate your audience and achieve your goals, whether that’s growing your brand, teaching a new skill, or simply entertaining.